# Welcome
If you're viewing the offline pdf documentation, view the latest online documentation [**HERE**](https://cw-systems.gitbook.io/planet-forge).
The ultimate planet rendering system.
This asset is designed to work in Unity 2021 LTS, Unity 2022 LTS, Unity 2023, and Unity 6, with the Built-In Render Pipeline, URP, and HDRP.
This asset includes a custom planet LOD system with fully configurable biomes, a volumetric atmosphere and cloud system, and an ocean system with underwater effects.
All example scenes are in the **"Plugins/CW/Planet Forge/Scenes"** folder, which show you what fully configured planets look like.
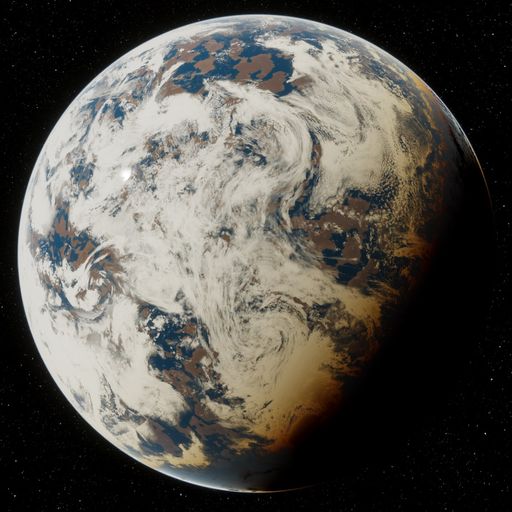
Seamlessly Fly From Space
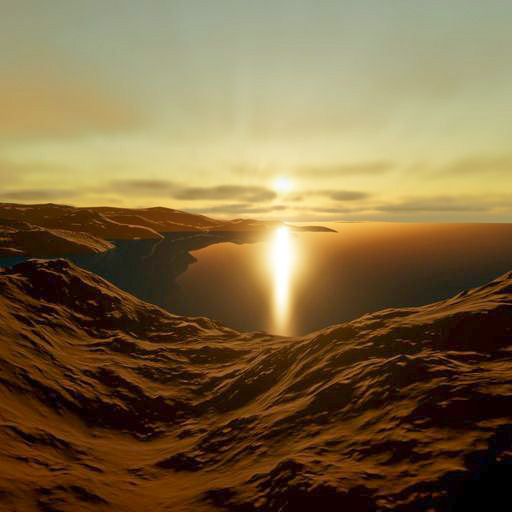
Through The Atmosphere
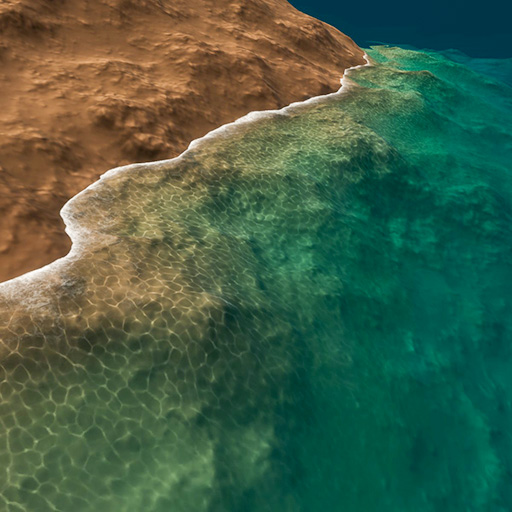
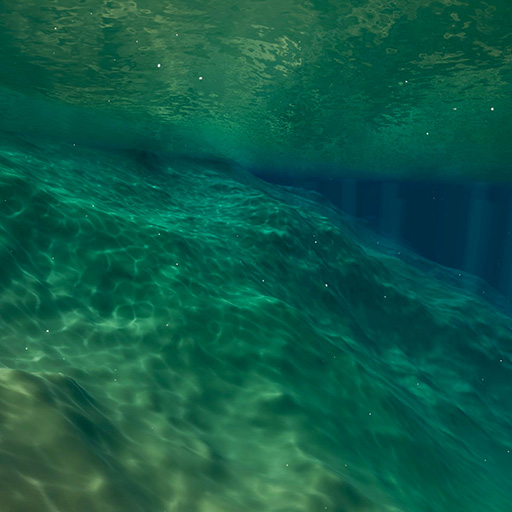
Through The Ocean
And Go Underwater
## Required Packages
{% hint style="danger" %}
Your project must have the **Burst** and **Mathematics** and **Collections** packages installed.
{% endhint %}
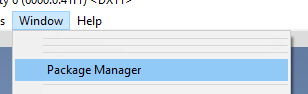
Package Installation Guide
#### Open: Window / Package Manager
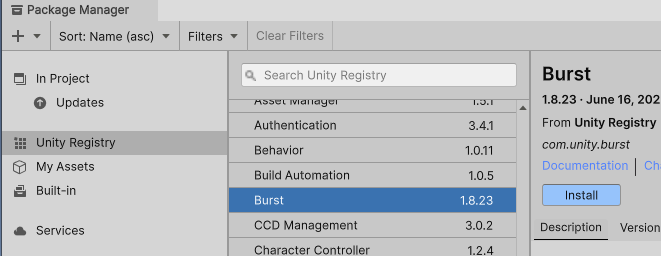
## Install Package: Burst
## Install Package: Mathematics
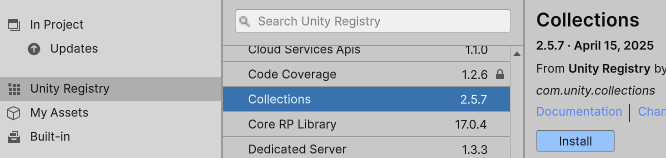
## Install Package: Collections
## **Done!**
{% hint style="warning" %}
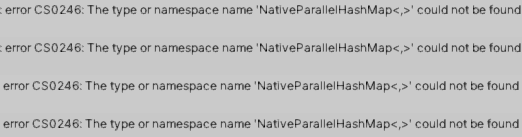
If you see this error:
{% endhint %}
This means you're using an outdated version of the **Collections** package.
In Unity 2021 (and possibly other versions), the Package Manager states that **Collections 1.2.4** is the latest version you can install, but this is incorrect. To update to the latest version and fix this error, you must manually open the **YourProjectFolder/Packages/manifest.json** file. Inside this file, you will see one line that looks like this:
```
"com.unity.collections": "1.2.4",
```
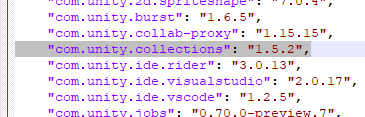
You must change it to version 1.5.2, like this:
```
"com.unity.collections": "1.5.2",
```
In the end the manifest will look like this:
You can now save this manifest.json file, and return to Unity. Unity should then automatically update Collections to the latest version.
## Making Your Own Planet
To make your own planet from scratch, you can either:
* Right click in the **Hierarchy** tab, and select **“CW / Planet Forge / Planet (Radius = 500)”**.
* Go to the menu bar, and select **“GameObject / CW / Planet Forge / Planet (Radius = 500)”**.
Larger Planets
There are also options for 5,000 meter and 5,000,000 meter (similar to Earth) planets if you wish.
{% hint style="info" %}
If you make a large planet, your main **Camera** component’s **Clipping Planes / Far** setting must be large enough to render the whole planet.
{% endhint %}
{% hint style="info" %}
Check the [massive-planets](https://cw-systems.gitbook.io/planet-forge/massive-planets "mention") page for more tips.
{% endhint %}
{% hint style="info" %}
When you create a planet, especially a larger one, it may spawn on top of the camera. If so, increase the planet’s **Transform** component’s **Position Z** value so you can see it.
{% endhint %}
This will create a new GameObject called **“Planet”** with 4 child GameObjects:
{% stepper %}
{% step %}
### "Landscape"
Has the [**SgtSphereLandscape**](https://cw-systems.gitbook.io/planet-forge/components/sgtspherelandscape) component, which generates and renders the planet surface.
Has a child GameObject called **"Biome"** with the [**SgtLandscapeBiome** ](https://cw-systems.gitbook.io/planet-forge/components/sgtlandscapebiome)component, which applies color and layers of detail to the planet surface.
{% endstep %}
{% step %}
### "Sky"
Has the [**SgtSky** ](https://cw-systems.gitbook.io/planet-forge/components/sgtsky)component, which renders the atmosphere and clouds.
{% endstep %}
{% step %}
### "Cloud"
Has the [**SgtCloud** ](https://cw-systems.gitbook.io/planet-forge/components/sgtsky)component, which controls the cloud data.
Has a child GameObject called **"Detail"** with the [**SgtCloudDetail** ](https://cw-systems.gitbook.io/planet-forge/components/sgtclouddetail)component, which erodes the cloud layer to make holes.
{% endstep %}
{% step %}
### "Ocean"
Has the [**SgtOcean** ](https://cw-systems.gitbook.io/planet-forge/components/sgtocean)component, which generates and renders the ocean and underwater.
Has the [**SgtOceanRays** ](https://cw-systems.gitbook.io/planet-forge/components/sgtoceanrays)component, which generates and renders underwater light shafts.
Has the [**SgtOceanDebris** ](https://cw-systems.gitbook.io/planet-forge/components/sgtoceandebris)component, which generates and renders underwater marine snow.
{% endstep %}
{% endstepper %}
{% hint style="info" %}
If your planet doesn’t need an ocean/clouds/etc, then you can delete it. However, cloud rendering requires the sky (just like in real life).
{% endhint %}
{% hint style="info" %}
You can hover the mouse over any inspector setting, and it will tell you what it does.
{% endhint %}
## Landscape LOD
The planet surface LOD is driven by the **Detail** setting relative to the **Main Camera**’s position. If you want this to be based on a different object, or multiple objects, then you can drag and drop as many **Transforms** as you like into the **Observers** list.
The landscape is generated using height and color textures, which are defined in the **Bundle** setting. If you want to create your own bundle, then you can add the [**SgtLandscapeBundle**](https://cw-systems.gitbook.io/planet-forge/components/sgtlandscapebundle) component to your planet (or in a prefab), and drag and drop it into the **Bundle** setting. By default, the **“Example Bundle”** is used, which contains a few example textures.
{% hint style="info" %}
If you have a large planet, then Unity may output warnings that there are large colliders in your scene, but there doesn’t seem to be a way to disable this…
{% endhint %}
If you want the planet to be based on a pre-generated albedo or height texture, then you can set it in the **AlbedoTex** or **HeightTex** setting.
{% hint style="info" %}
These must use cylindrical (equirectangular) projection, use the **Single Channel Red** format, and have **Read/Write** enabled.
{% endhint %}
## Landscape Buttons
The [**SgtSphereLandscape** ](https://cw-systems.gitbook.io/planet-forge/components/sgtspherelandscape)component inspector has several useful buttons.
The **“Add Collider”** button will add the [**SgtLandscapeCollider** ](https://cw-systems.gitbook.io/planet-forge/components/sgtlandscapecollider)component. This will generate colliders for the whole planet down to the specified **MinimumTriangleSize** in this component.
The **“Add Detail”** button will add a child GameObject with the [**SgtLandscapeDetail** ](https://cw-systems.gitbook.io/planet-forge/components/sgtlandscapedetail)component. This can apply a layer of detail around the whole planet, or to a specific region.
The **“Add Flatten”** button will add a child GameObject with the [**SgtLandscapeFlatten**](https://cw-systems.gitbook.io/planet-forge/components/sgtlandscapeflatten) component. This can flatten the landscape in specific regions.
The **“Add Color”** button will add a child GameObject with the [**SgtLandscapeColor** ](https://cw-systems.gitbook.io/planet-forge/components/sgtlandscapecolor)component. This can color the whole planet based on height and slope data, or to a specific region.
The **“Add Biome”** button will add a child GameObject with the [**SgtLandscapeBiome** ](https://cw-systems.gitbook.io/planet-forge/components/sgtlandscapebiome)component. This combines the features of [**SgtLandscapeDetail** ](https://cw-systems.gitbook.io/planet-forge/components/sgtlandscapedetail)and [**SgtLandscapeColor** ](https://cw-systems.gitbook.io/planet-forge/components/sgtlandscapecolor)into one component, simplifying configuration.
The **“Add Prefab Spawner”** button will add a child GameObject with the [**SgtLandscapePrefabSpawner** ](https://cw-systems.gitbook.io/planet-forge/components/sgtlandscapeprefabspawner)component. This will spawn prefabs on the surface of your planet as you approach.
The **“Add Static Spawner”** button will add a child GameObject with the [**SgtLandscapeStaticSpawner** ](https://cw-systems.gitbook.io/planet-forge/components/sgtlandscapestaticspawner)component. This will spawn static meshes on the surface of your planet as you approach.
## Sky
You can adjust the **RayleighColor**, **Height**, and **Density** settings to change its look.
The **InnerMeshRadius** setting should match the radius of your ocean, or your landscape radius if your planet doesn't have an ocean.
The atmosphere can receive light from one **SgtLight** component in your scene.
{% hint style="info" %}
When you create a planet, the **SgtLight** component will automatically be added to the Sun or brightest light in your scene. Otherwise you must manually add this component.
{% endhint %}
## Required Scene Components
{% hint style="warning" %}
Your main scene light must have the **SgtLight** component to calculate lighting on the atmosphere and clouds. When you create a new planet, this will automatically be added.
{% endhint %}
{% hint style="warning" %}
Your scene must have the **SgtVolumeManager** component to render the gas giants. When you create a new planet, this will automatically be added.
{% endhint %}
{% hint style="warning" %}
Your main camera must have the **SgtVolumeCamera** component to render the gas giants. When you create a new planet, this will automatically be added.
{% endhint %}